Why?
The Star64 sbc from Pine64 is a sbc (single board computer) that is very interesting because it uses the RISC-V architecture. The RISC-V architecture is interesting because it is a free and open-source instruction set that offers numerous benefits such as flexibility and customization. I thought I would make a small guide for installing Linux on the Star64 board because it comes with no operating system installed, and I figured out it can be difficult to try installing it yourself as there are some documentation inconsistencies.
Installing Linux
If you are interested and want to try this yourself, you will need some accessories because the board is sold alone. (accessories can be found on the Pine64 store or somewhere else):
- microSD card
- 3.3 volts USB to TTL Serial Adapter for serial communication (USB to Transistor-Transistor Logic cable)
- Power supply (12 volts 3 amp)
- Another computer to flash the microSD and use for the serial console
This image is in the public domain.
After that, you will need to plug in the USB to TTL cable.

WARNING:
Avoid the pins below pin 6; those are 5 volt which is enough to mess up most serial cablestio -b 115200 /dev/ttyUSB0 or if your using screen enter this instead: screen /dev/ttyUSB0 115200 Make sure your baud rate is set to 115200. If you're on a mac, tty path will be something more like /dev/tty.usbserial-* (* being the identifier of the USB to TTL cable). If you're unsure which path to use then run ls -ltr /dev and make sure it's showing up. Next, plug in the power supply to your board and wait, it might take a while. Linux will eventually start running. If you're using Fishwaldo's images, the logins and passwords are written in the README. Now you can run commands and have some fun! Congratulations on installing Linux on your Star64 sbc!
Where to go from here?
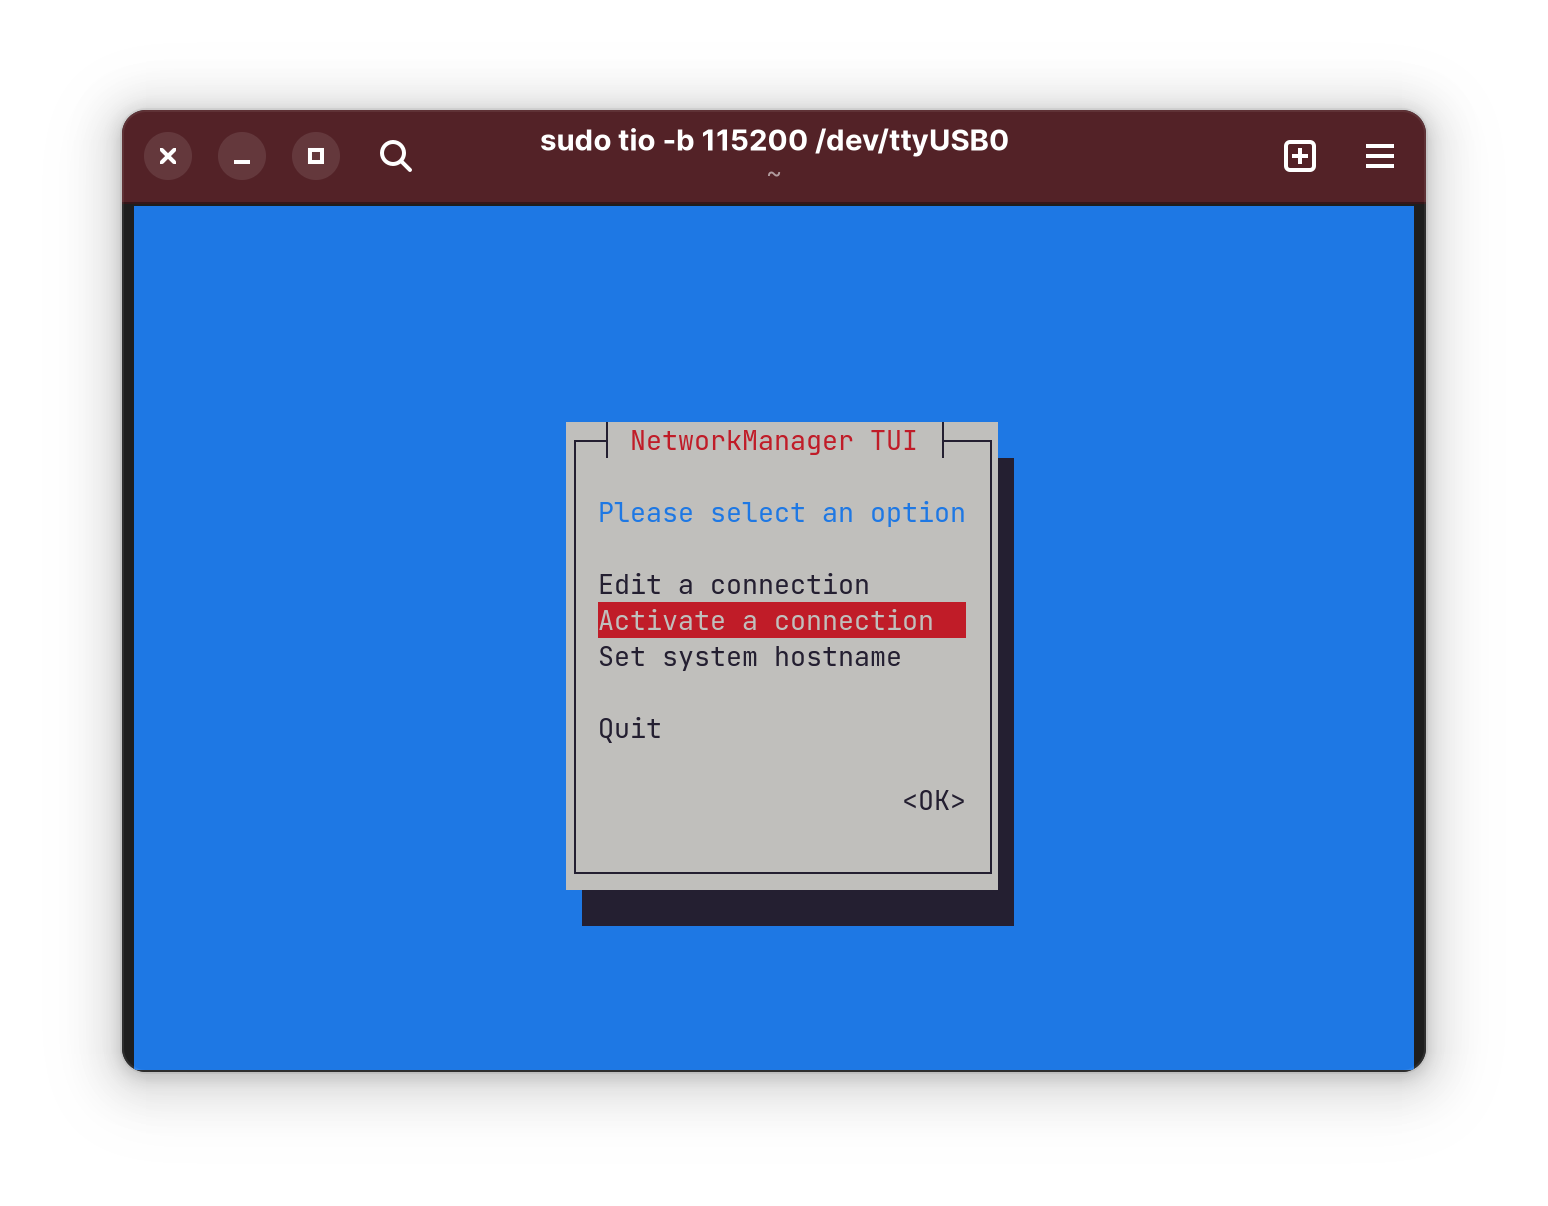
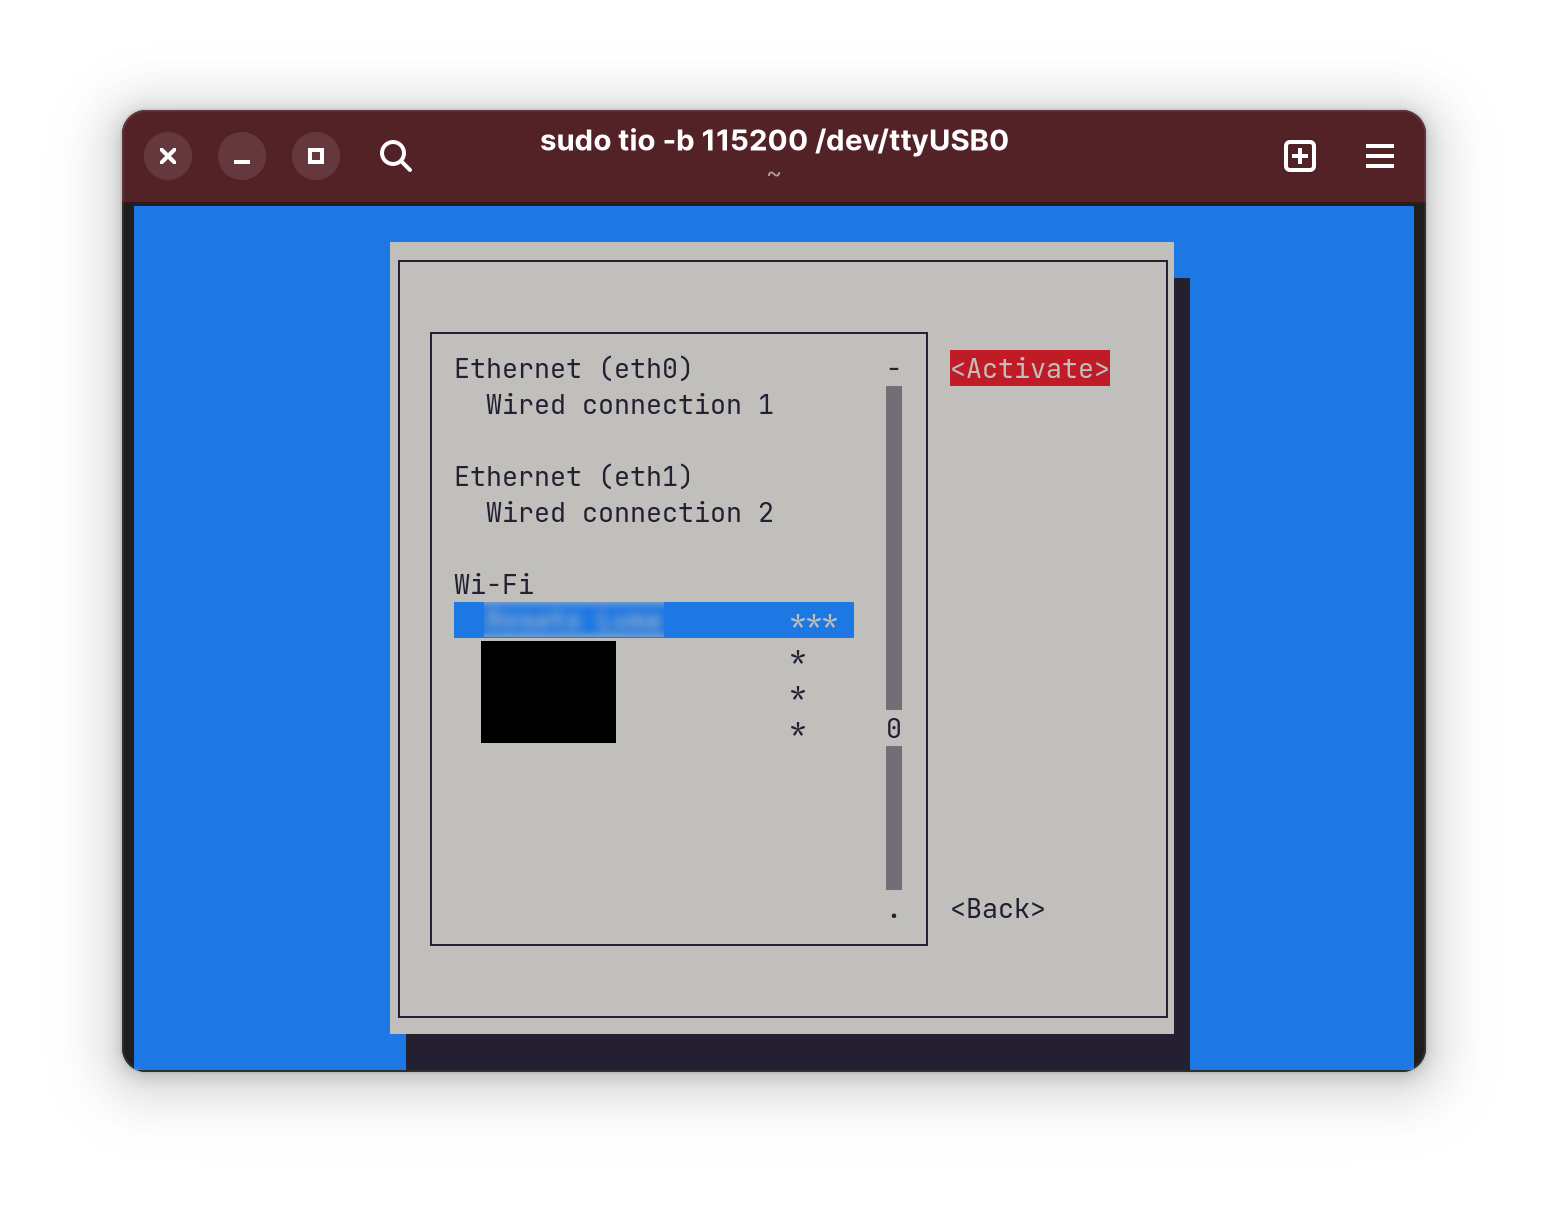
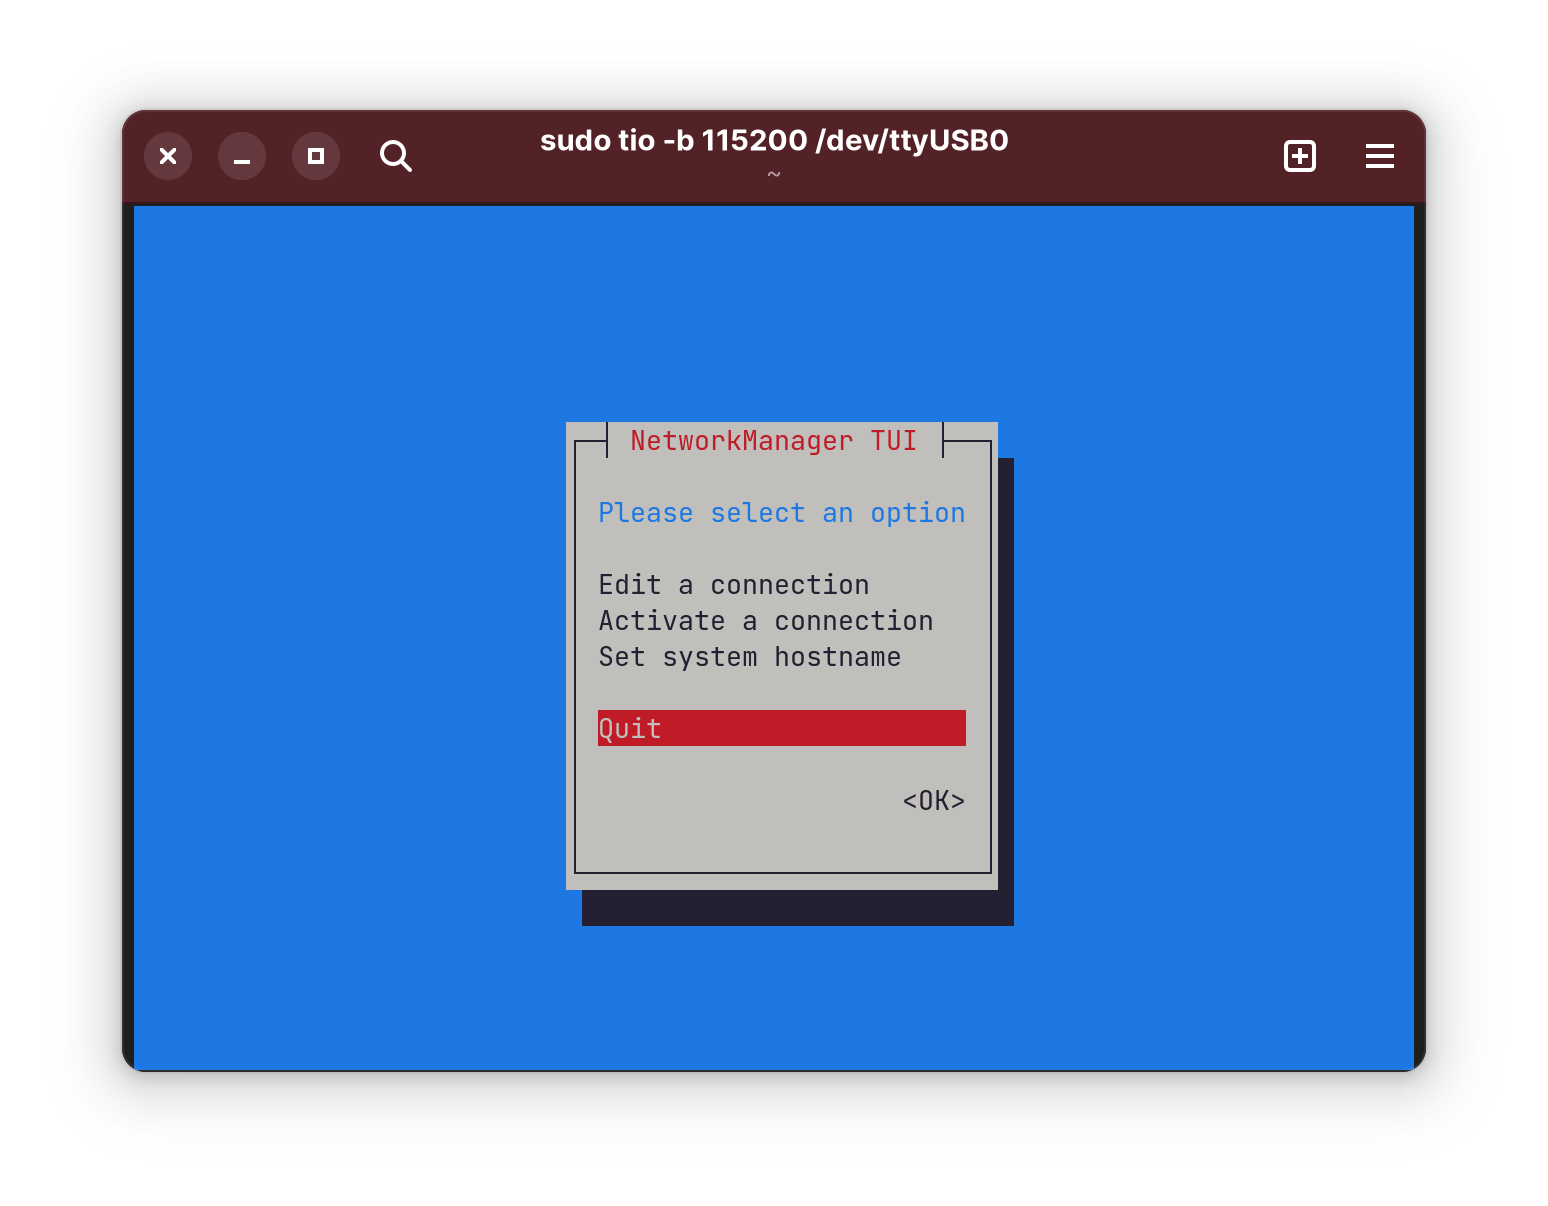
The next step I took was setting up the wifi so I could install packages. You can easily connect your board to the internet in just a few steps: